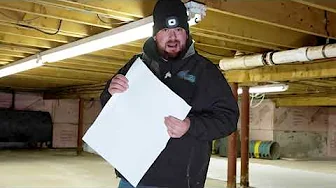
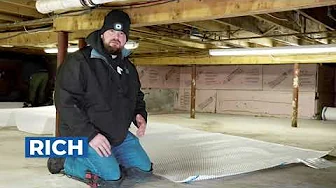
Crawl Space Video Playlist
4 Videos

0:53

1:30
1:34
0:55

Common questions about basement finishing
Dover basement finishing — local context
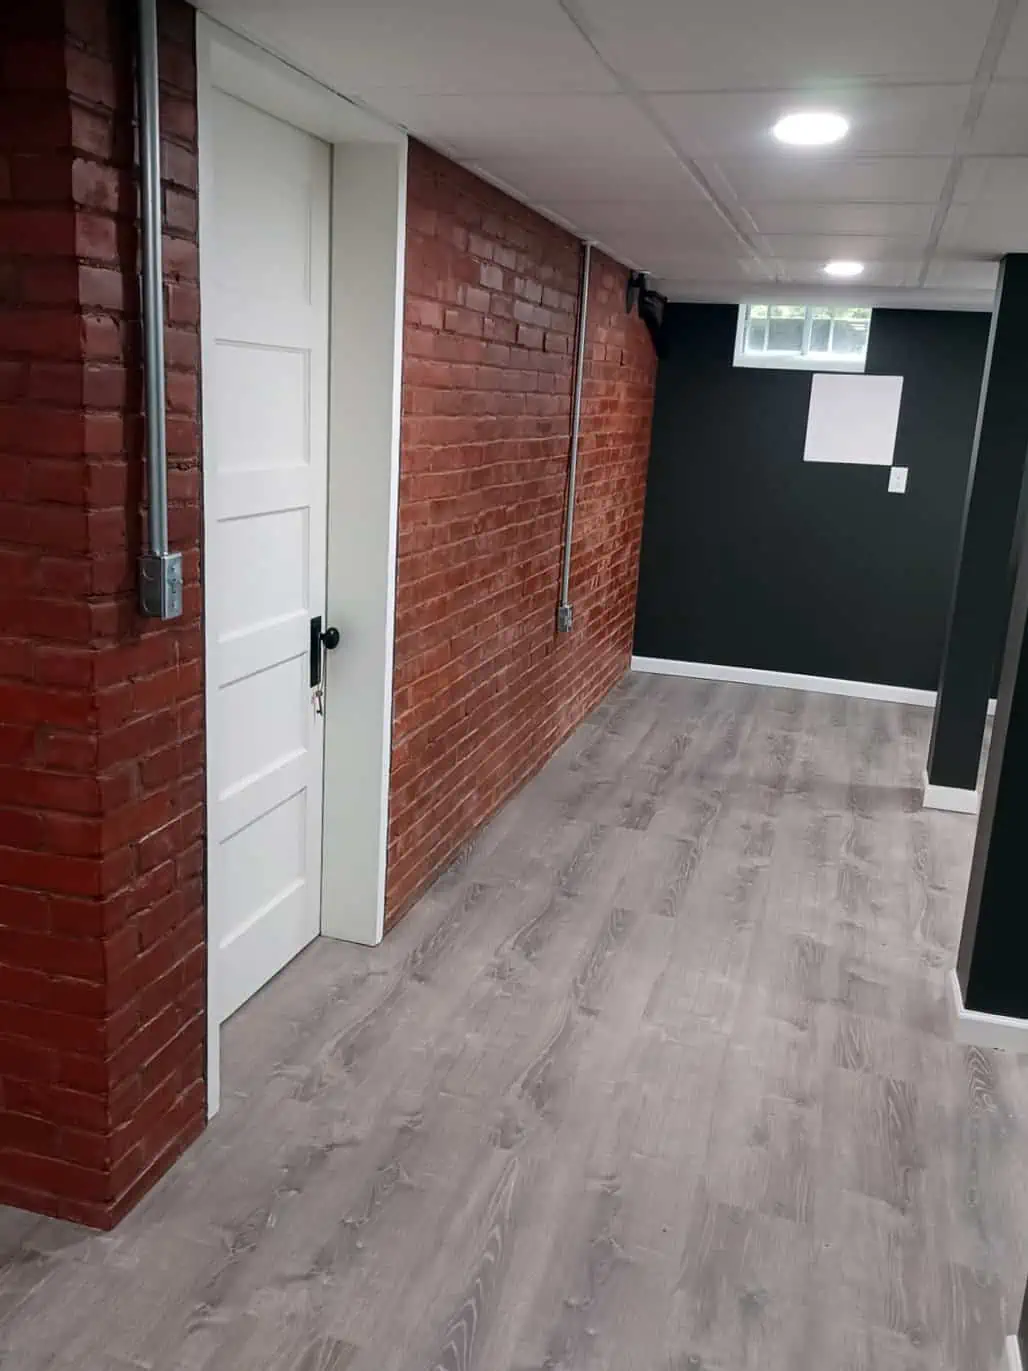
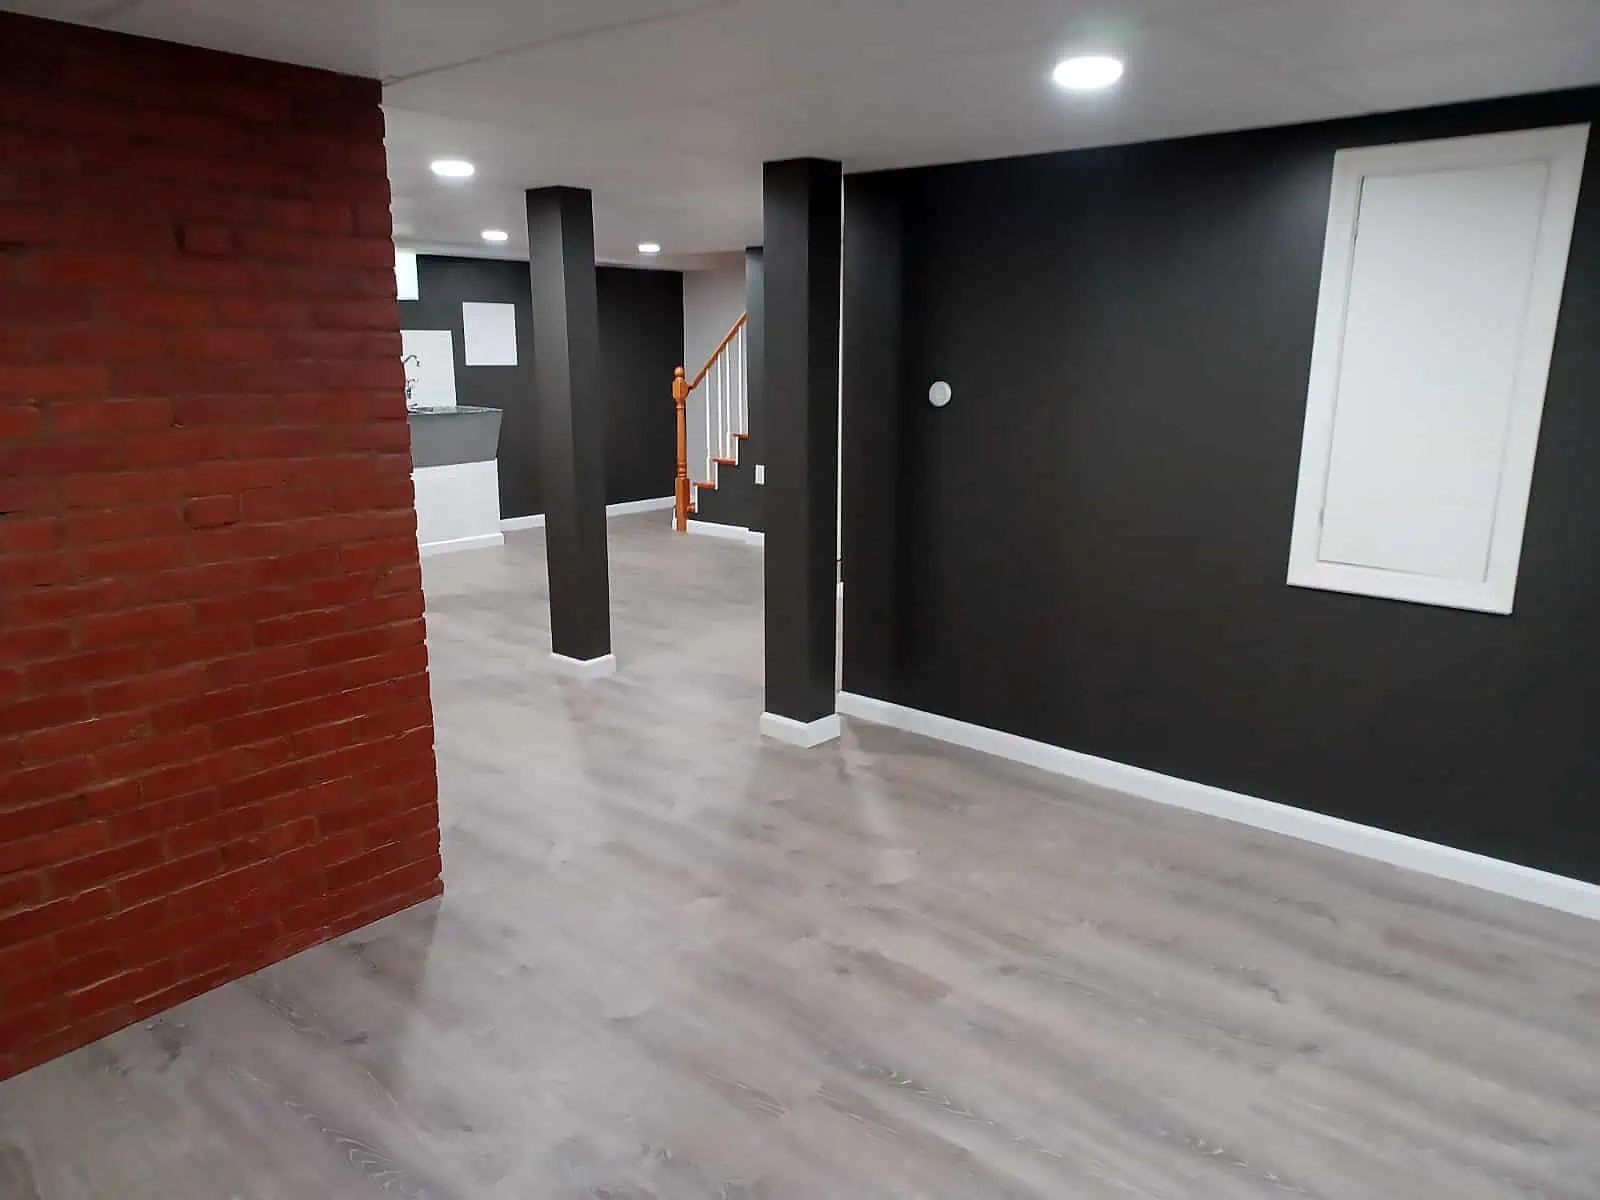
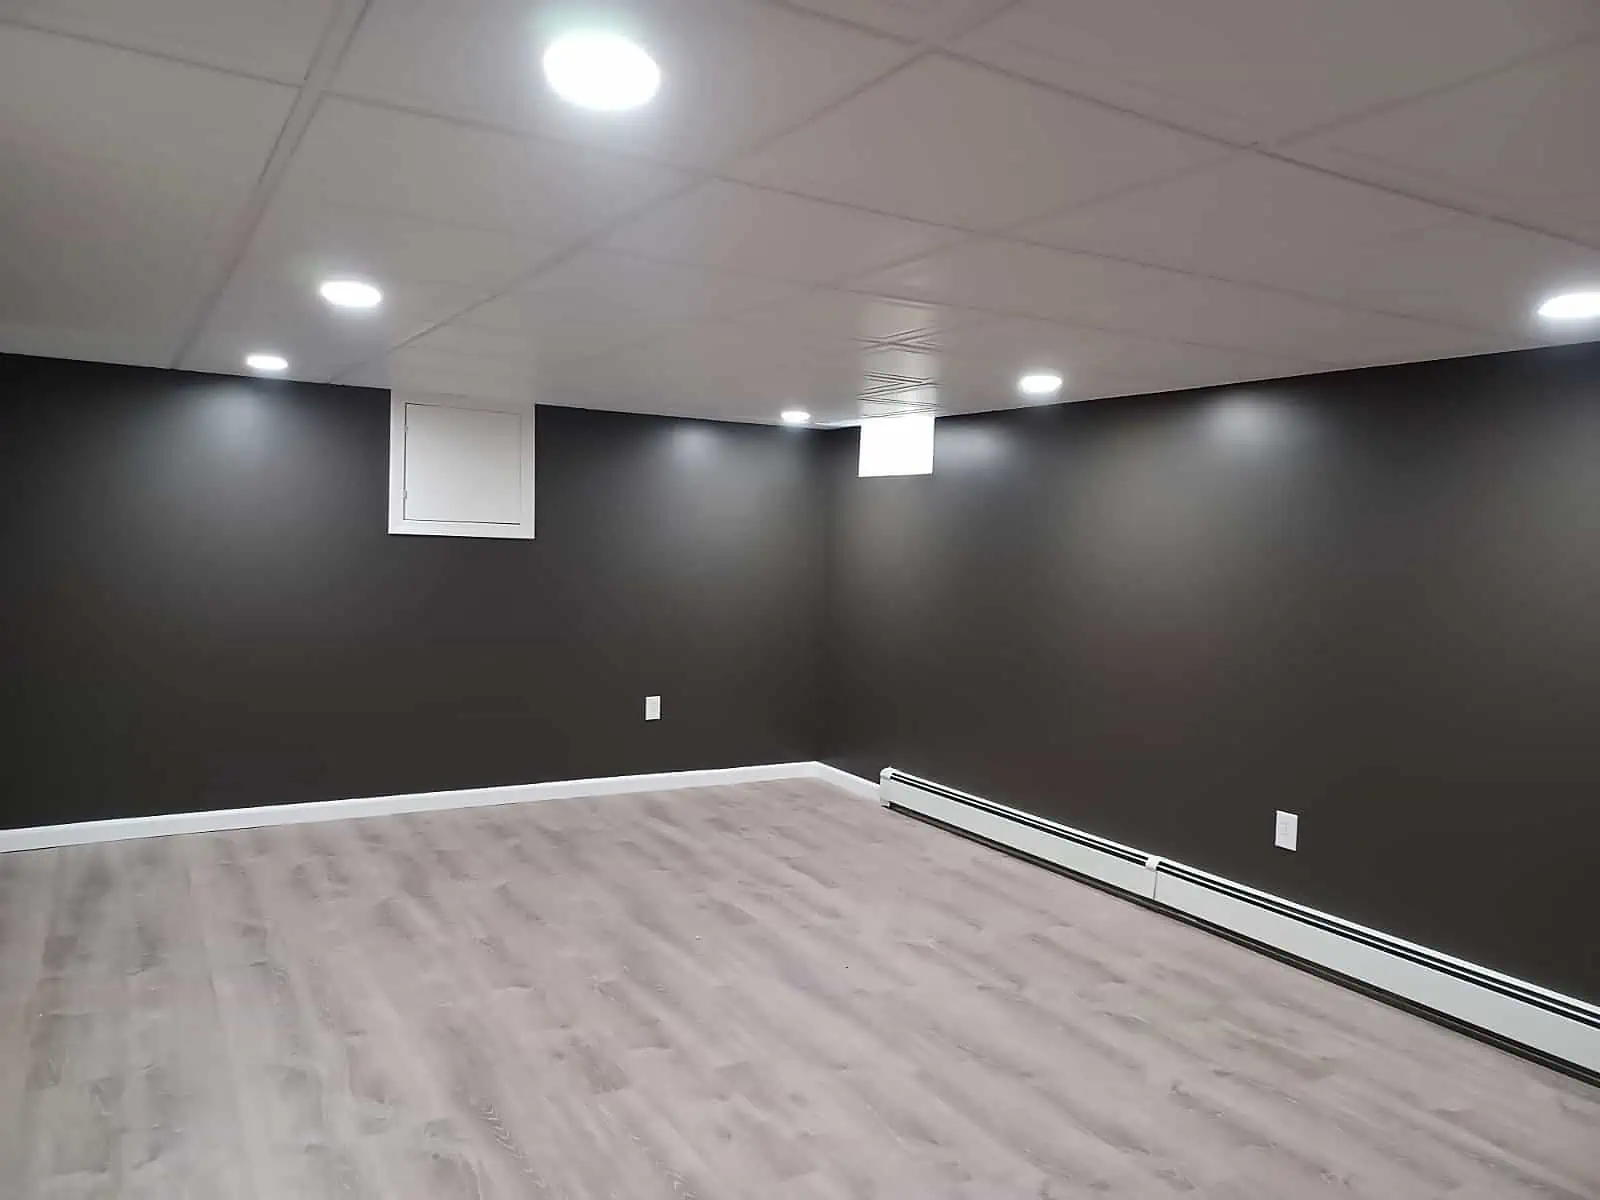
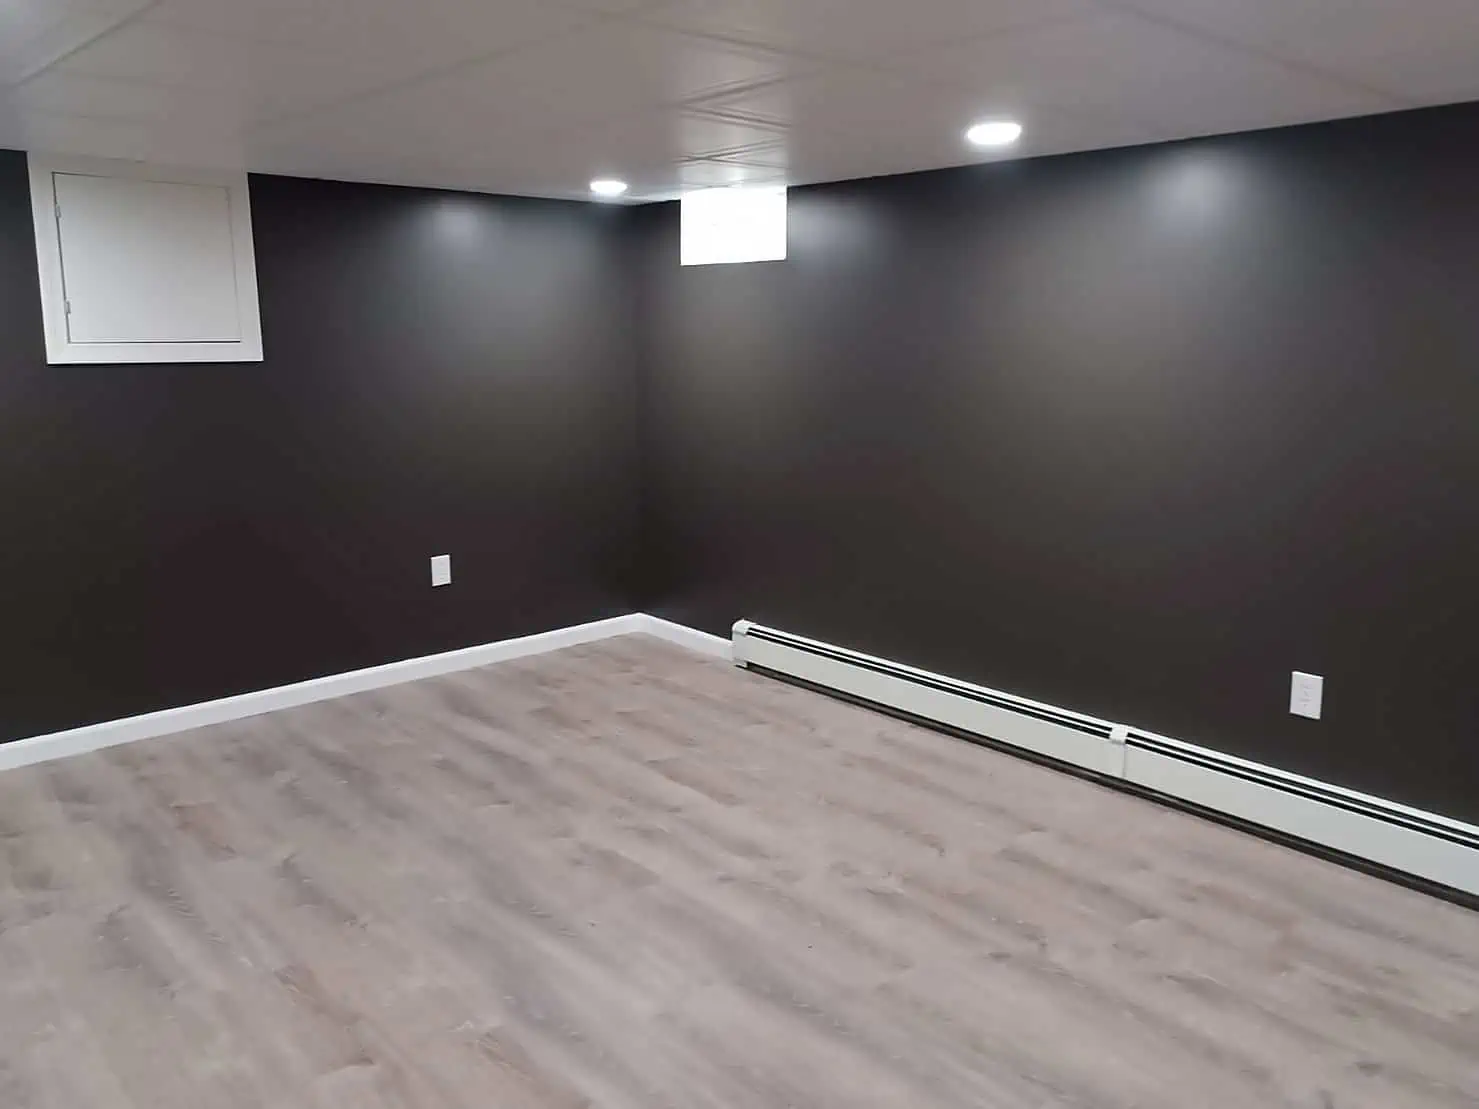
Finishing a basement in Dover means dealing with Dover's own rules, not the Seacoast's. Dover sits in Strafford County, not Rockingham (U.S. Census Bureau, Census Reporter). Your permit runs through the city's own Inspection Services Division at 269 Mast Road, (603) 516-6038, with applications on the portal at permits.dover.nh.gov (City of Dover, NH). 603 pulls that building permit for you. If you add a bedroom, the egress opening has to meet IRC Section R310 — 5.7 sq ft net clear, sill no higher than 44 inches — because New Hampshire adopts the IRC 2021 statewide under RSA 155-A (NH Division of Fire Safety). Basement finishing runs $30,000–$200,000; an egress window install runs $8,000–$15,000. Most projects take 4 to 24 weeks with one 603 crew. Adding finished square footage to a Dover home — median value $436,700 (ACS 2024 5-year) — is real space you live in. See our basement finishing and egress window work.
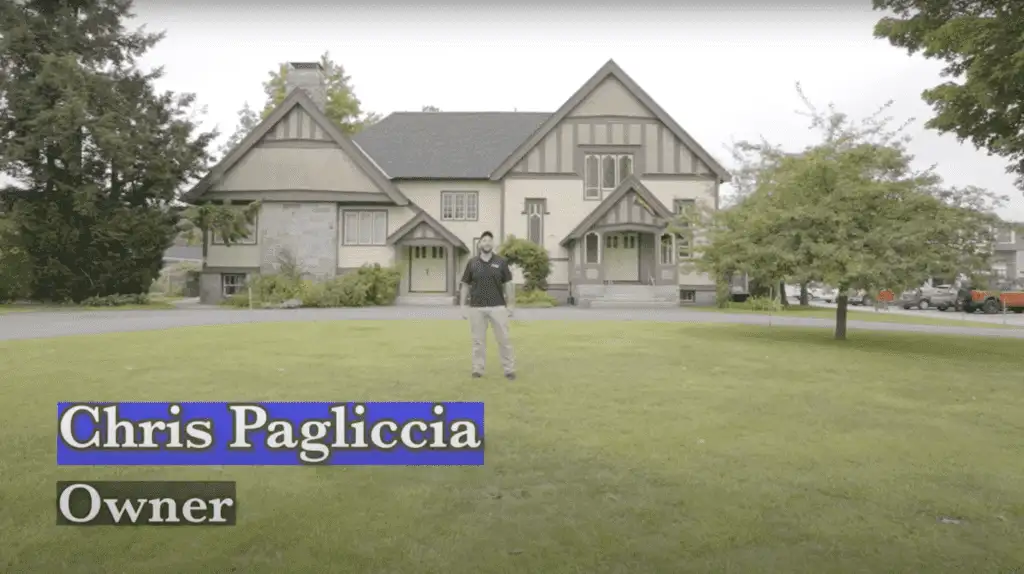
What a recent customer said
"We had a wonderful experience working with 603 to have our basement finished. From the initial walk down with Chris to through the project execution phase. Ray and his crew were fantastic, communicative, hardworking, and great attention to detail. Their pricing was competitive and quality was exceptional."
Frequently asked questions
Do I need a permit to finish my basement in Dover, NH?
Yes. Interior renovation and basement finishing require a building permit in Dover, handled by the city's Inspection Services Division at 269 Mast Road, (603) 516-6038, with applications submitted through the online portal at permits.dover.nh.gov (City of Dover, NH). 603 pulls the building permit as part of the project.
What are the egress requirements for a basement bedroom in Dover?
A finished basement bedroom must have an emergency escape and rescue opening meeting IRC Section R310 — a minimum 5.7 sq ft net clear opening (5 sq ft is allowed for grade-floor/below-grade openings), at least 24 inches high and 20 inches wide, with the sill no more than 44 inches above the floor. New Hampshire adopts the IRC 2021 statewide under RSA 155-A (NH Division of Fire Safety), and Dover's department enforces it.
How long does a basement finishing project in Dover take?
Most basement finishing projects run 4 to 24 weeks, depending on size, layout, and whether you're adding features like an egress window or bathroom. 603 handles the project with a single crew and pulls the building permit for you.
Basement Finishing in nearby New England towns
More 603 services in Dover
- Basement Waterproofing in Dover, NH
- Crawl Space Encapsulation in Dover, NH
- Foundation Crack Repair in Dover, NH
- Radon Mitigation in Dover, NH