Crawl Space Video Playlist
4 Videos

0:53

1:30
1:34
0:55

Common questions about radon
- Can asbestos block radon that’s outside? It is in my basement floor
- Can radon levels of 100 be mitigated effectively, and if so how much?
- Did you have radon mitigation done in your home? What things should you know first?
- Do ceiling fans reduce radon?
- Do radon mitigation systems decrease the value of your house?
- Does it matter if I test for radon in the summer or the winter
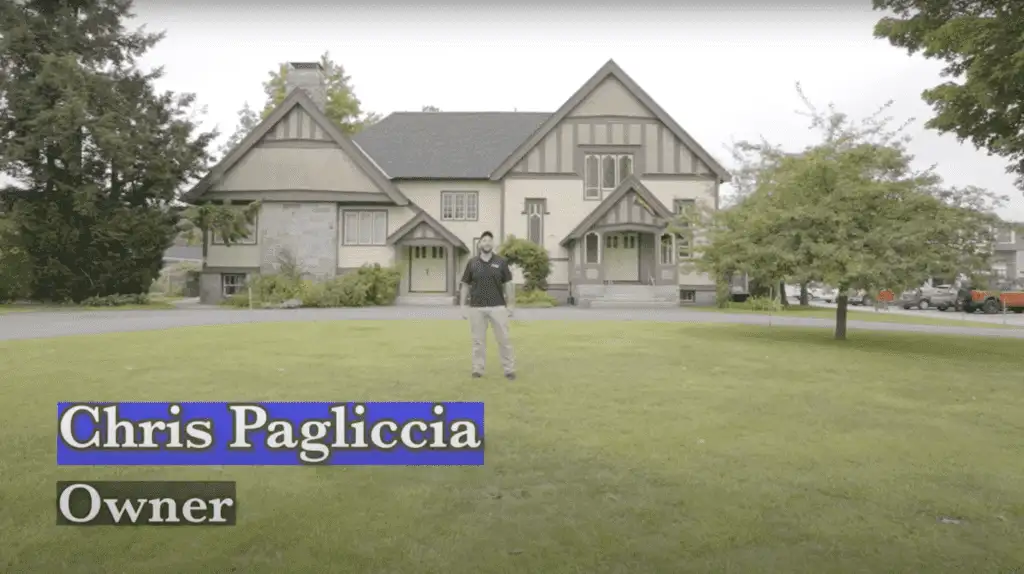
Carlisle radon mitigation — local context
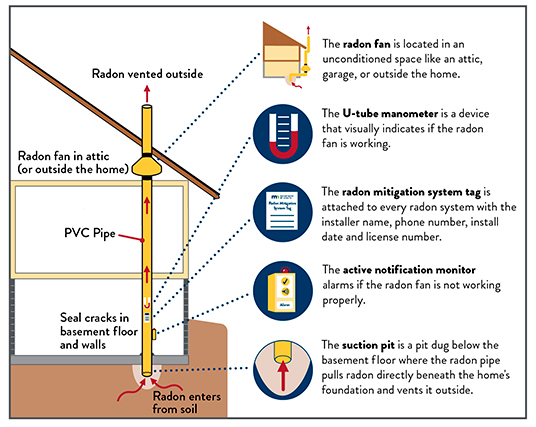
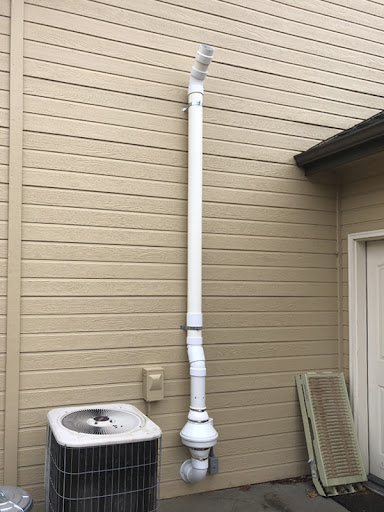
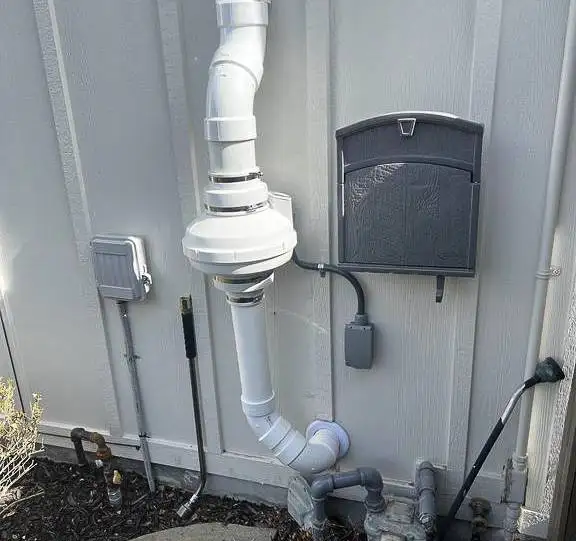
If you own an older Carlisle home, radon is worth taking seriously. Carlisle sits in Middlesex County — one of only three Massachusetts counties (with Essex and Worcester) the EPA designates radon Zone 1, the highest tier, predicting average indoor screening levels above 4 pCi/L. Because of that Zone 1 status, the Environmental Law Institute notes Massachusetts code requires every new one- and two-family home built here to include a passive radon-control system. The natural source is local: the USGS maps the bedrock under Carlisle as Andover Granite, a uranium-bearing granite with pegmatite that feeds soil gas into fieldstone-era basements and crawl spaces. We mitigate that. Our radon mitigation systems run $900–$6,000, with most jobs landing $1,950–$2,250, including crawl-space sub-membrane depressurization. A radon test is $50 — credited toward the job if you proceed. Radon cert RMS-113966; 5,000+ New England homes.
What a recent customer said
Radon assessment went easy, install went easy, experienced and knowledgeable experts, radon levels dropped by next morning to well below EPA action levels. Great work!
Frequently asked questions
Is Carlisle, MA a high-radon area?
Yes. Carlisle is in Middlesex County, one of only three Massachusetts counties (with Essex and Worcester) the EPA designates radon Zone 1 — the highest tier, predicting an average indoor screening level greater than 4 pCi/L. The uranium-bearing Andover Granite bedrock the USGS maps beneath the town is the natural source. EPA recommends fixing a home at 4 pCi/L, so testing is worthwhile for most Carlisle homes.
Does a new home in Carlisle need a radon system by law?
For new construction, effectively yes. Because Carlisle sits in a Zone 1 county, the Environmental Law Institute notes Massachusetts code requires new one- and two-family homes (and townhouses up to three stories) to be built with a passive radon-control system — a requirement that applies only in the three Zone 1 counties of Essex, Middlesex, and Worcester. If you're building or buying new in Carlisle, plan for it.
How much does radon mitigation cost in Carlisle, and do you test first?
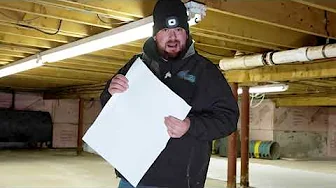
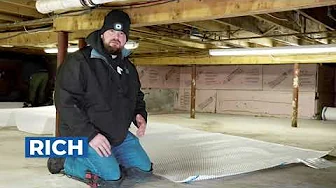
Radon mitigation runs $900–$6,000, with most jobs landing $1,950–$2,250. We start with a radon test, which is $50 (not free) and credited toward the job if you proceed. For Carlisle's older homes with dirt or fieldstone crawl spaces, we install crawl-space sub-membrane depressurization systems. We're radon-certified (RMS-113966) and have worked on 5,000+ New England homes.
Radon Mitigation in nearby New England towns
More 603 services in Carlisle
- Basement Waterproofing in Carlisle, MA
- Basement Finishing in Carlisle, MA
- Crawl Space Encapsulation in Carlisle, MA
- Foundation Crack Repair in Carlisle, MA