Crawl Space Video Playlist
4 Videos

0:53

1:30
1:34
0:55

Windham radon mitigation — local context
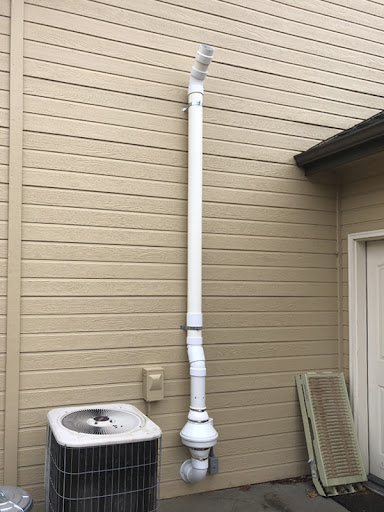
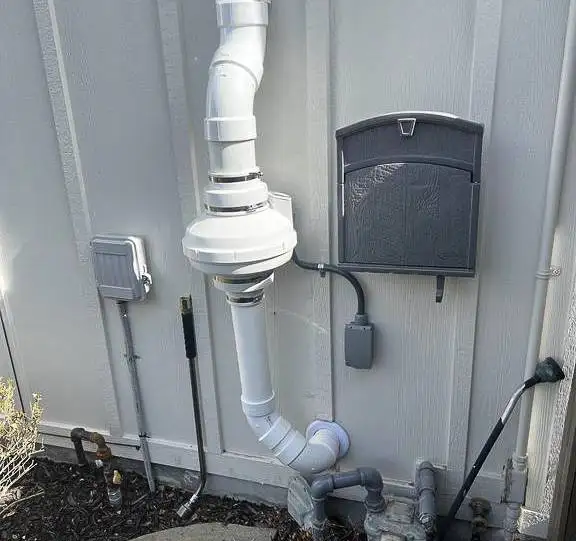
Here is the honest version: Windham is not in New Hampshire's highest radon zone, but it still warrants a test. The EPA's Map of Radon Zones puts Rockingham County in Zone 2 (moderate, a predicted 2–4 pCi/L) — only Carroll County is Zone 1. The catch is the statewide picture. CDC Environmental Public Health Tracking reports New Hampshire homes average 5.9 pCi/L versus the 1.3 pCi/L US average, 37% exceed the 4.0 pCi/L action level, and names Rockingham among the highest-radon counties. The source is the bedrock: the USGS Bedrock Geologic Map of the Windham Quadrangle (OFR 99-8) maps uranium-bearing Berwick Formation cut by granite, and USGS Data Report 1208 (Walsh & Powell, 2025) found Windham's Route 111 bedrock fractures strike northwest–southeast and dip steeply — the very pathways radon follows indoors. We install crawl-space sub-membrane depressurization for older fieldstone and lakefront homes (radon cert RMS-113966). Radon mitigation runs $900–$6,000 (most jobs $1,950–$2,250); the radon test is $50, credited toward the job if you proceed. Start with a radon test, then book the fix.
What a recent customer said
"Radon assessment went easy, install went easy, experienced and knowledgeable experts, radon levels dropped by next morning to well below EPA action levels. Great work!"
— Jerome Washo, Google review, 5★
Frequently asked questions
Is radon a problem in Windham, NH?
Windham sits in Rockingham County, which the EPA's Map of Radon Zones classifies as Radon Zone 2 — moderate potential, with a predicted indoor average of 2 to 4 pCi/L, not the highest zone (only Carroll County is Zone 1 in NH). But moderate does not mean safe. CDC Environmental Public Health Tracking reports New Hampshire homes average 5.9 pCi/L versus the 1.3 pCi/L US average, 37% exceed the 4.0 pCi/L action level, and lists Rockingham among the counties with the highest radon levels. The only way to know your home is to test it.
Why is radon elevated in Windham specifically?
It comes down to the rock under the town. The USGS Bedrock Geologic Map of the Windham Quadrangle (Open-File Report 99-8) maps uranium-bearing Berwick Formation bedrock cut by granite — and uranium decay is what produces radon gas. USGS Data Report 1208 (Walsh & Powell, 2025) field-mapped fractures in Windham's bedrock along the Route 111 bypass, finding a dominant northwest–southeast-striking, steeply dipping fracture set with about 8 percent of fractures water-bearing. Those fractures are the pathways radon follows up into basements and crawl spaces.
How much does radon mitigation cost in Windham, and is the test free?
Radon mitigation runs $900 to $6,000 depending on the home, with most jobs landing between $1,950 and $2,250. The radon test is $50 — not free — but that $50 is credited toward the job if you decide to proceed. For Windham's older fieldstone and lakefront homes we install crawl-space sub-membrane depressurization systems. We hold NH radon certification RMS-113966.
Radon Mitigation in nearby New England towns
More 603 services in Windham
- Basement Waterproofing in Windham, NH
- Basement Finishing in Windham, NH
- Crawl Space Encapsulation in Windham, NH
- Foundation Crack Repair in Windham, NH